F.A.Q. Added
I’ve just added an FAQ section for our trip. It’s below and I hope covers some of the questions people have for us. https://haveanotherdaysgreatloop.wordpress.com/frequently-asked-questions/
I’ve just added an FAQ section for our trip. It’s below and I hope covers some of the questions people have for us. https://haveanotherdaysgreatloop.wordpress.com/frequently-asked-questions/
She’s in! The fabrication of the bracket is complete, it’s glued in and the stabilizer is in place. It hasn’t been bolted in yet and there’s still plumbing and electrical connections to be made but the hard part is done.


Tomorrow the stabilizer will be bolted in, final connections made and either tomorrow or Monday we will drop her in the water.
The install of the Seakeeper has been underway for a few weeks now. The first step was removing some of the cabinetry in the lazarette and relocating the shore power transformers. Fortunately Marine Services figured out the transformers could go up on the shelf behind their previous location. That meant the cordsets didn’t need to be changed and the modifications were kept to a minimum.
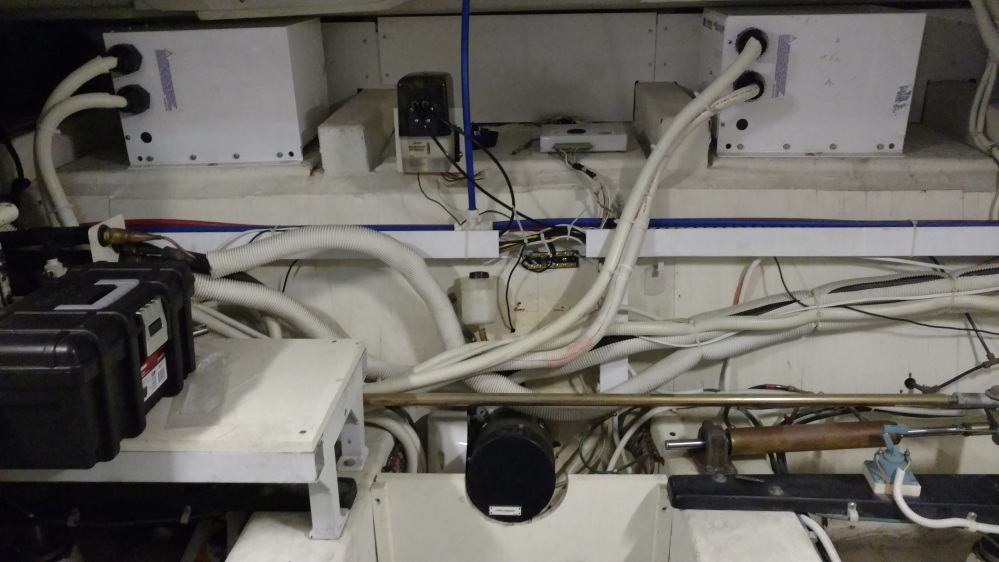
In the picture above the transformers are moved to their new locations, the shelf has been removed and the steering gear is still visible. The steering rams, the tie bar visible in the lower portion of the image, the air conditioning shelving on the left, the autopilot pump and a myriad of other small and large items have also been removed to allow the bracket to make it in.


Here’s the bracket coming together. This is the actual portion that the Seakeeper will bolt onto. The rest of the bracket that will glue to the stringers and pick up the outboard stringers will be fit in place in the engine room then tacked together. The bracket is being made out of 6061 3/8″ aluminum alloy.
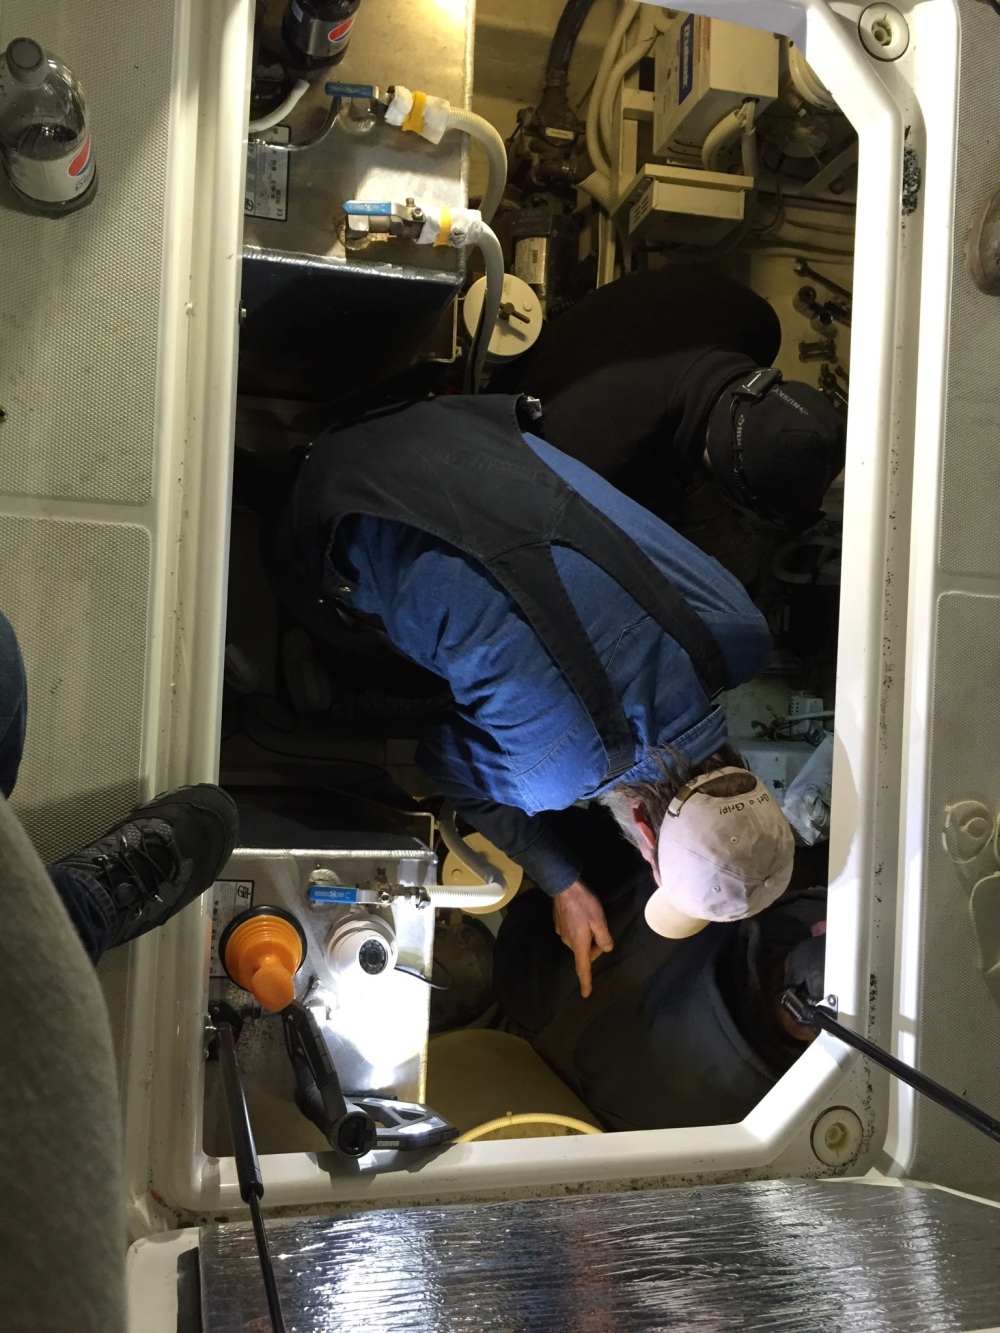
While it’s a little hard to tell in this picture there are three people in a remarkably small space in the engine room. This is while all the measurements were being taken and the dry-fitting was taking place.
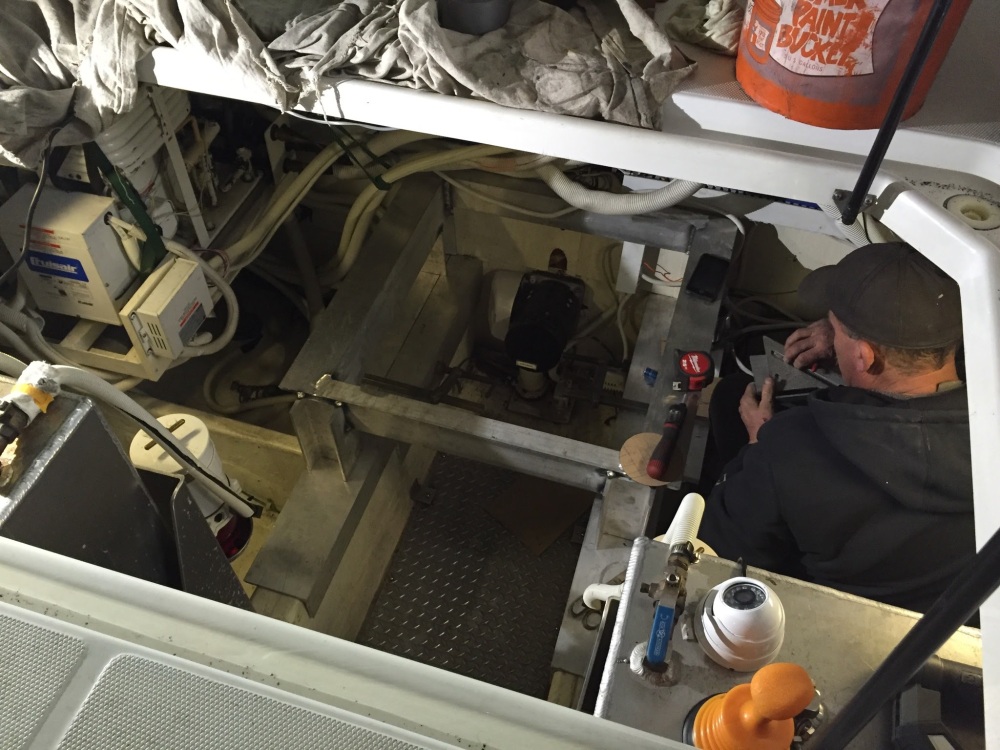
And now most of the dry fitting is done for the primary stringers. Work continues on tying in the outer engine stringers and finishing up the bracket. Once complete the bracket will pick up four engine beds, the transom and two transverse stringers. I’m certainly hopeful that this will prove sufficient to avoid any damage to the boat from the force of the Seakeeper. If you look carefully you can see the air conditioners are currently hanging waiting for the bracket to be finished. Once done, the AC units will be tied into the bracket supports and shelving will be built around the stabilizer to recover some of the lost storage space.
Hopefully some time next week the stabilizer itself will go in. Once that happens the boat will go in the water very shortly thereafter.
On Friday of last week the real work began on the install of our Seakeeper. The Seakeeper is a gyroscopic stabilizer. Basically, it’s a large gyroscope that spins a 900 pound weight at 10,000 RPMs and should stop 90+% of the rocking in the boat.
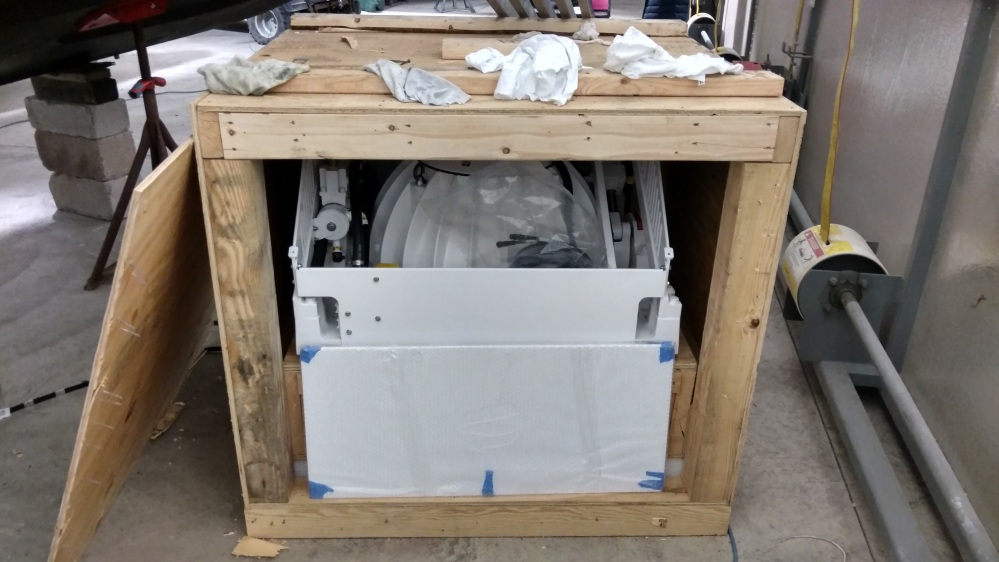
Right now the stabilizer is sitting in the crate it has been in since it arrived at Marine Services about three weeks ago. On Friday Tony began moving the shore power transformers that are currently located where the Seakeeper is going to be located. Up next will be cutting out the formica that is currently there and making room for the bracket to which the Seakeeper will be mounted.
Craig Sellers from For Your Space completed the installation of the new cabinet. We replaced the old cabinet that was made for a 27″ tube television. At the end of last season we bought an additional fridge to give us a little more fridge space. I had originally been planning on putting it between the two chairs and maybe building a minimal cabinet around it. As frequently happens, my wheels got turning and we decided on a bigger cabinet that would also hold some of the random crap that was usually piled on top of the old cabinet.
I couldn’t be happier with how it turned out.


Last summer during our tour of Lake Michigan we had a lot of trouble with the autopilot. Eventually it gave me enough headache that I decided to replace it mid-trip. This turned out to be a pretty easy replacement and gave rise to some other upgrades during the trip. By the end of the trip I had also replaced one plotter at both the lower and upper station, replaced the older Seatalk 1 tridata and repeater with NMEA 2000 / STng displays and added a 7″ Raymarine e7 to the lower helm.
I was still not thrilled with the performance of the original radar on the boat and with the loop coming up knew that I wanted AIS and Sirius weather capabilities. So, eventually the list grew to include:
Overall I’m pretty happy with how things turned out. I’ve once again been able to confirm that running cables through the hardtop is one of my least favorite tasks and that Carver apparently made use of random supports and reinforcement in the hard top for no purpose other than to confound anyone who later tries to run wiring.
Here are a few looks at how it all came out:


I’m currently waiting on the trim piece for the lower helm electronics to be remade to fit the new electronics. I also have to make up a few filler pieces for the upper helm.
